
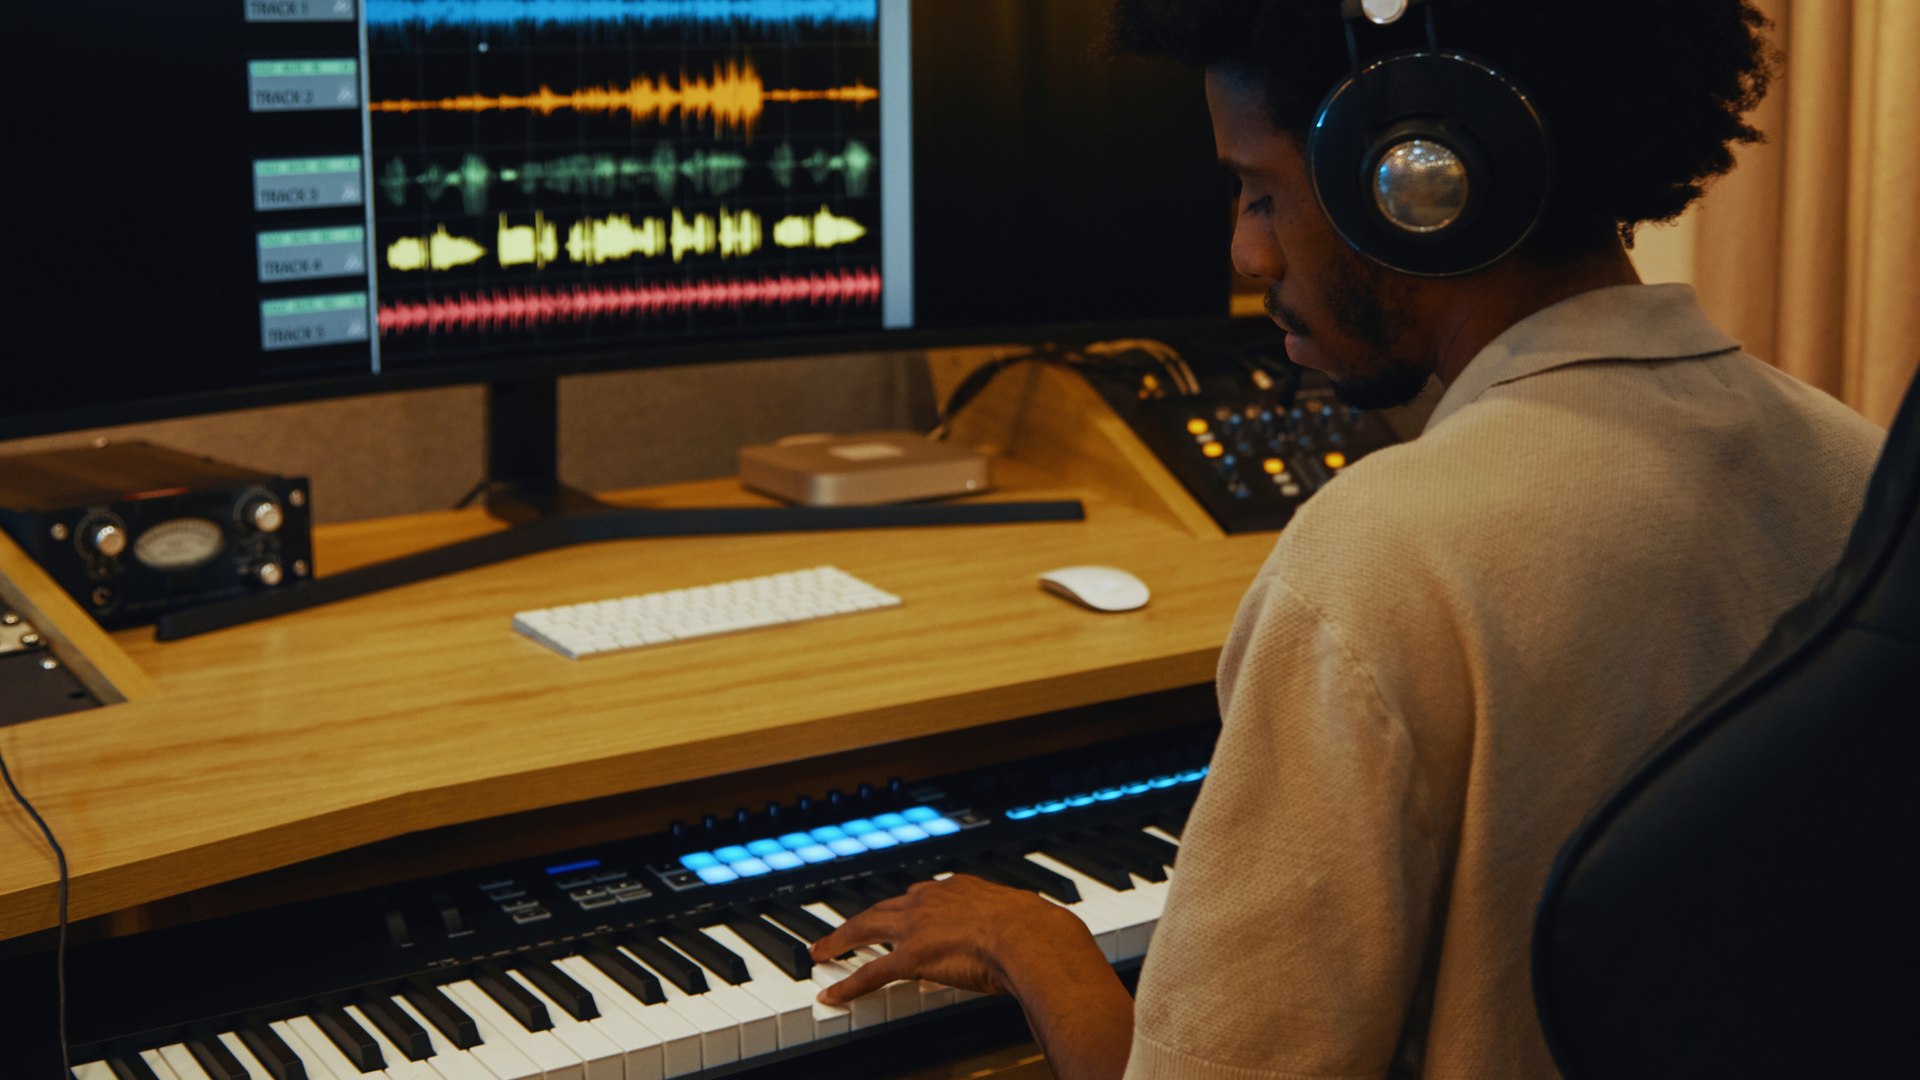
Recording great piano tracks from home requires attention to sound quality, microphone placement, and room acoustics. Using a good quality microphone and positioning it correctly can capture the piano’s full range and natural tone.
Choosing the right room with minimal background noise and soft surfaces to reduce echo can improve the recording clarity. Additionally, setting the piano properly and adjusting recording levels helps prevent distortion or unwanted noise.
With the right equipment and techniques, anyone can create professional-sounding piano recordings without a studio. This guide will cover practical steps to achieve clear, expressive piano tracks in a home environment.
Essential Equipment for Recording Piano at Home
Creating clear, professional piano recordings requires careful selection of recording tools. Microphones, audio interfaces, and software each play a critical role in capturing the instrument’s full tonal range. Accessories and cables complete the setup by ensuring signal integrity and ease of use.
Choosing Between Dynamic and Condenser Microphones
Condenser microphones are often the preferred choice for piano recording due to their sensitivity and wide frequency response. They capture detailed sound, making them suitable for acoustic pianos where nuance matters. A typical condenser microphone also requires phantom power supplied by the audio interface.
Dynamic microphones, while less sensitive, handle high sound pressure levels and are more durable. They suit louder piano styles or environments with background noise, but may miss subtle tonal details. Many engineers recommend using a pair of condenser microphones in a stereo configuration to create a more natural piano sound.
Selecting an Audio Interface for Quality Recording
The audio interface converts analog signals from microphones into digital audio that your computer can process. Key features to look for include low-latency performance, quality preamps, and multiple inputs if using more than one microphone.
Interfaces such as the Focusrite Scarlett or Universal Audio Apollo series offer clean preamps and reliable connections. It’s important to select one with phantom power support for condenser microphones. USB or Thunderbolt compatibility ensures smooth integration with a range of digital audio workstations (DAWs).
Understanding DAWs for Piano Recording
Digital audio workstations (DAWs) provide the environment for recording, editing, and mixing piano tracks. Popular options include GarageBand for beginners and Logic Pro for more advanced users. Logic Pro offers advanced tools for detailed piano tone shaping and realistic virtual instruments.
DAWs allow multiple microphone tracks, editing capabilities, and the application of effects like EQ or reverb. Selecting software depends on the user’s level of experience and required features. Compatibility with the audio interface and operating system is essential for a smooth workflow.
Must-Have Accessories and Cables
Quality XLR cables are necessary to connect microphones to the audio interface while minimizing noise and signal loss. A sturdy microphone stand is critical for precise microphone placement in relation to the piano soundboard.
Pop filters are less common with piano recording, but can be useful in some close-mic setups to reduce mechanical noise. Headphones designed for studio monitoring help evaluate recordings accurately without bleeding or coloring the sound. Power conditioners and cable organizers improve reliability and session efficiency.
Preparing Your Piano and Recording Environment
Setting up a piano for home recording requires attention to both the instrument’s condition and the surrounding space. Proper care of the piano and thoughtful arrangement of the room will help capture clear, balanced sound with minimal unwanted noise.
Tuning and Maintaining Your Piano
A well-tuned piano is essential for a professional recording. He should tune the piano regularly, ideally before each recording session, as even slight detuning affects intonation and overall sound quality. Grand pianos and upright pianos both need tuning, but grands often require more frequent tuning due to their size and string tension.
Maintenance also involves checking the soundboard and strings. The bass and treble strings must be free from rust or corrosion to ensure clarity. Regular voicing and regulation keep the action responsive, which impacts the dynamic range during recording. If unsure, hiring a professional piano technician is recommended.
Optimizing Room Acoustics
The recording space significantly influences the piano’s sound. A room with hard, reflective surfaces can cause unwanted echo, while overly dampened rooms may deaden the sound. He should aim for a balanced acoustic environment by adding diffusers or absorptive panels on walls and ceilings.
Positioning rugs or carpets under the piano helps reduce harsh reflections from the floor. Avoid placing the piano near windows or HVAC vents to minimize background noise. If possible, recording in a room with high ceilings enhances natural resonance, benefiting grand piano recordings especially.
Positioning Upright and Grand Pianos
Positioning differs depending on the piano type. For grand pianos, the lid should be opened fully and directed toward microphones to maximize sound projection from the soundboard and strings. Placing the grand piano away from the walls allows sound to disperse evenly.
Upright pianos require careful placement to reduce proximity to walls, which can cause bass buildup. Leaving several feet between the back of the piano and the wall improves bass string resonance. He should also consider the microphone placement relative to the piano’s structure to capture a balanced mix of treble and bass frequencies during recording.
Microphone Placement and Advanced Recording Techniques
Effective mic placement and advanced techniques directly impact the tone and clarity of piano recordings. Attention to spatial positioning, stereo imaging, and handling different piano types maximizes sound quality. Addressing noise control and mechanical vibrations is also critical for clear tracks in a home environment.
Essential Mic Placement Strategies
Microphone placement determines the balance of harmonics, attack, and resonance captured from the piano. For grand pianos, placing mics 8-12 inches above the strings, centered over the hammers, captures a strong attack with natural brightness. For upright pianos, placing mics inside the cabinet near the strings works best but requires care to avoid mechanical noise.
Distance affects recorded sound. Closer mics capture more detail and attack but risk harshness and unwanted mechanical noise. Moving the mics slightly back blends in natural resonance and room ambiance.
Using a small-diaphragm condenser microphone offers a more accurate frequency response. Large-diaphragm mics can add warmth but may reduce clarity in complex passages. Placement height and angle can be adjusted to highlight midrange frequencies or overall tonal balance.
Stereo and Close Miking Approaches
Stereo recording techniques create a natural and immersive piano soundstage. The XY stereo pair, with two directional mics placed at 90 degrees and close together, preserves phase coherence and provides a clear stereo image.
ORTF placement uses two cardioid mics spaced approximately 7-8 inches apart at 110 degrees, capturing a broader stereo field and richer ambiance. Spaced pair setups place mics several feet apart to increase room sound but risk phase issues.
Close miking captures detail but can sound dry. Combining close mics with a room mic placed several feet away lets engineers blend intimate and ambient textures. Using stereo techniques alongside close mics yields versatile tracks for mixing.
Recording for Acoustic vs. Digital Pianos
Recording an acoustic piano focuses primarily on microphone placement and room acoustics to capture natural resonance and dynamics. Microphones pick up string vibrations and wooden tone, so room treatment and proper mic positioning are essential.
Digital pianos output line-level signals or MIDI data, changing the recording approach. For digital piano tracks, direct recording via line input reduces noise and allows clean integration with virtual instruments or plugins.
However, miking a digital piano’s built-in speakers can simulate room ambiance or create unique effects. Combining direct output with a room mic recording of the amplifier balances fidelity and spatial character.
Minimizing Unwanted Noise and Vibrations
Unwanted noise comes from mechanical parts, room reflections, and external sources. Placing shock mounts on microphones reduces the pickup of vibrations from piano pedals or floor movement.
Using isolation pads or rugs beneath the piano decreases resonance and vibrations transferring through hard surfaces. Recording in a quiet room, away from HVAC systems and traffic noise, limits background interference.
Adjusting the microphone placement slightly away from pedals and actions helps reduce mechanical noise. Using directional microphones with good off-axis rejection lowers the pickup of unwanted room sounds. Monitoring levels to avoid clipping ensures a clean recording without distortion.
Editing, Mixing, and Finalizing Your Piano Tracks
Fine-tuning piano recordings requires precise adjustments to reduce unwanted noise, shape the tone, and add clarity. Careful use of effects and compression can enhance the instrument’s natural sound while maintaining dynamics. The final step ensures the track translates well across playback systems and is safely stored.
Noise Reduction and Equalization
The first step in cleaning a piano track is identifying and reducing background noise. Using noise gate plugins or spectral noise reduction tools in a digital audio workstation (DAW) helps eliminate hums, hisses, or room ambiance without affecting the piano’s tone.
Equalization (EQ) shapes the frequency balance. Applying a high-pass filter around 40–60 Hz removes excessive low rumbles. Boosting midrange frequencies between 200 Hz and 2 kHz clarifies key attack and resonance. Cutting harsh frequencies around 3–5 kHz can reduce clickiness or string noise. These adjustments depend on the recording environment and microphone placement.
Care should be taken to make subtle moves rather than extreme cuts or boosts to preserve the piano’s natural character.
Enhancing with Effects and Compression
Adding effects like reverb simulates room size and spatial depth. A short, natural reverb keeps the sound intimate, suitable for home recordings. Avoid overly long or dense reverb, which can muddy the mix.
Compression controls volume dynamics by reducing loud peaks and bringing out quieter notes. Use a low ratio (2:1 or 3:1) with a moderate threshold. This preserves the piano’s expressiveness while maintaining a consistent output level. Attack and release settings should be moderate to prevent pumping or unnatural artifacts.
Delays are generally unnecessary for solo piano but can be used sparingly for creative effect. The priority remains subtle enhancement that complements the recorded performance.
Mastering for a Polished Sound
Mastering prepares the mixed piano track for final distribution. It involves subtle equalization, compression, and limiting to optimize loudness and tonal balance. The goal is to ensure consistency across various playback systems.
Common mastering techniques for piano tracks include gentle multiband compression to control problematic frequency areas and applying a limiter to prevent clipping. True peak limiting protects against distortion on digital platforms.
Monitoring on reference headphones and speakers is essential. Loudness should target around -14 to -16 LUFS for streaming services, balancing clarity and headroom.
Exporting and Backing Up Your Recordings
Export the final piano track in high-quality formats such as WAV or FLAC for archiving and distribution. Avoid excessive compression or low-bitrate MP3s during the production stage to maintain fidelity.
Label files clearly with date, version, and project info to simplify management. Create multiple backups on separate drives or cloud services to prevent data loss.
Organizing project files, including raw takes and DAW session backups, supports future editing or remixing efforts. These steps assure the longevity and accessibility of the recorded piano material.

